

Paint Decanting
Why you should do it, what you’ll need, and how to do it

Our favorite project? Paint decanting. Something we see across all homes is a giant, dusty, rusty, musty smattering of paint cans. Some of the nicest homes in the world have this hidden somewhere. Enter: Tartan and the Touch Up Cups. I first came across Touch Up Cups when they were on Shark Tank. Fast forward a few years, and we’re partnering with them to do mega projects where we “decant” house paint into these fabulous little cups, saving the paint and saving SO MUCH SPACE. It’s unreal.
Do not attempt to DIY until you’ve read the tips below! This process took a while to perfect.
WHY YOU SHOULD “DECANT” YOUR PAINT
First, the why (OK if you scroll to the tool kit, I get it):
Touch Up Cups keep your paint fresh for up to ten years. That’s way longer than paint cans (we’ve opened enough rotten ones to never want to experience that again…).
The cups come with little balls that keep the paint mixed. Just give it a good ol’ martini shake before opening, and you’re all set.
Tartan makes custom labels for ours, because we are extra, but they do already come with labels you can fill in.
Touch Up Cups are 13 oz increments. If you need more than that, you’re not touching up… you would be getting a new gallon anyway.
They are washable, reusable, and recyclable!
If you do end up purchasing Touch Up Cups, you can use the code TARTAN10 at their website for a discount and also make us look good to our fellow small business. If you want to just grab them from Amazon (we get it), they’re available here.
THE TOOL KIT: WHAT YOU’LL NEED
Below is what you’ll need to assemble your make-a-mess kit (links). Scroll left and right for the individual items, or check out the full contents here.
THE HOW: STEP-BY-STEP
Gather paint cans from everywhere they are lurking.
Sort them by date, if you can read the labels. If they are older than 5 years, you should probably chuck them.
Discard any paint that’s no longer relevant (aka “gifts” from the previous homeowner for rooms that you immediately repainted).
Jot down the details on the paint you plan to keep on super sticky post-it notes. We love information, so we include manufacturer, color code, color name, sheen, paint type/details, year, and space used. It’s important to do this step first in case you spill over the label when pouring!
If you’re using the labels that come with the Touch Up Cups, go ahead and jot down the information directly on the cups. If you plan to print your own, stick the post-it’s to the sides of the cups for now.
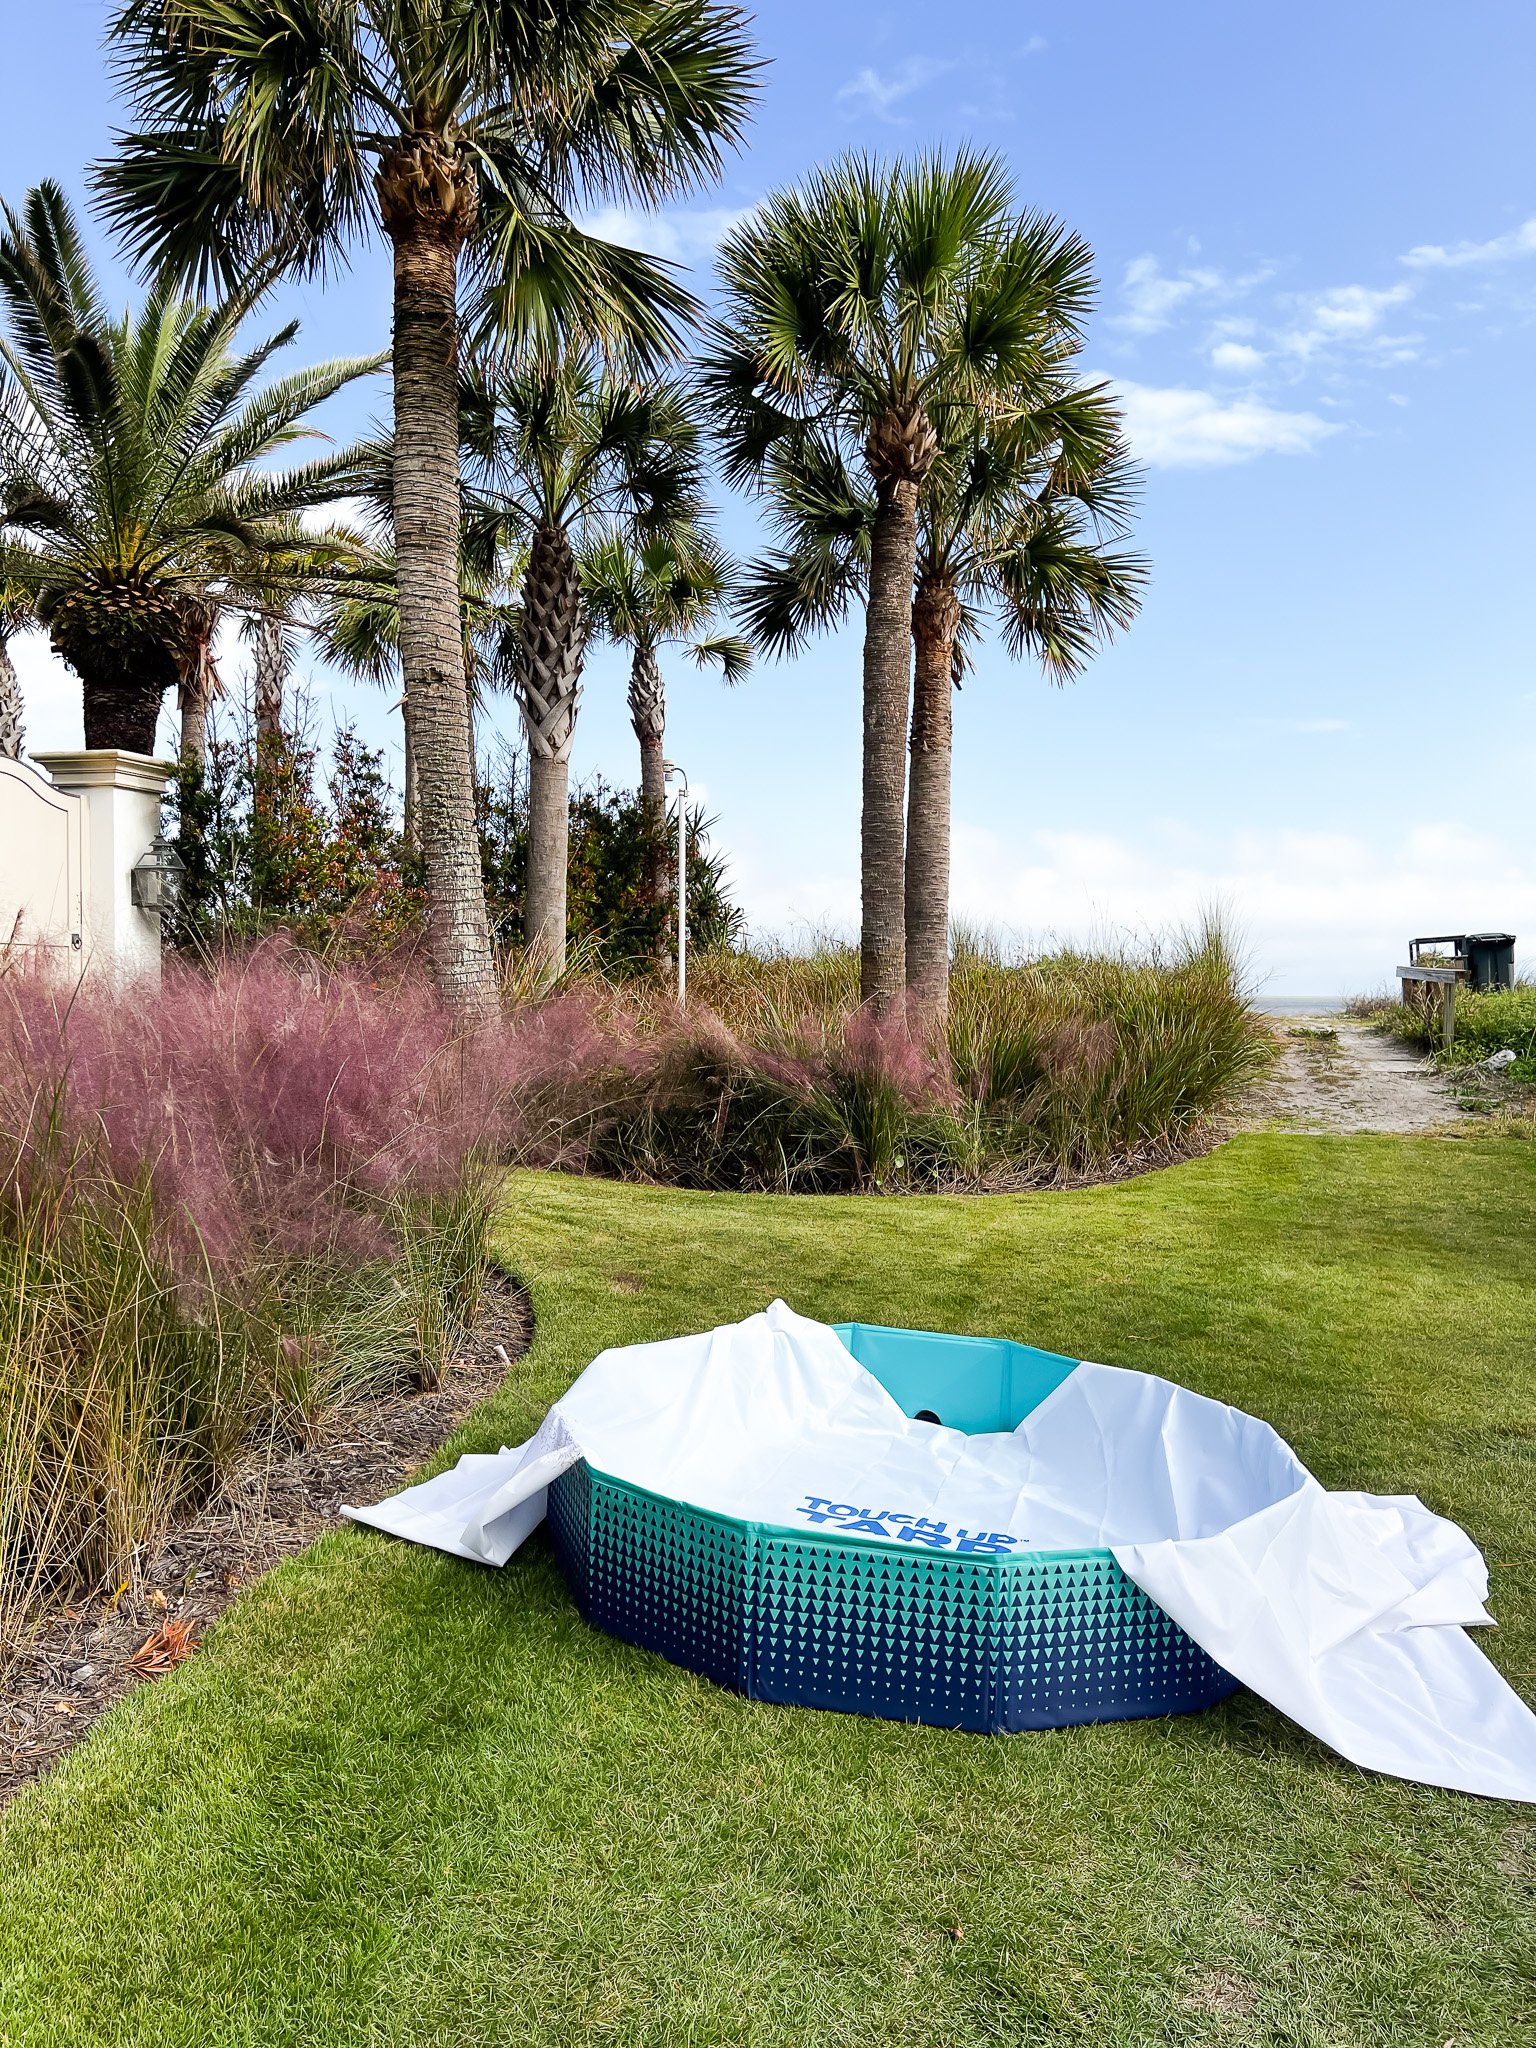
Lay out your floor protection. We use a Touch Up Tarp* + a pool for dogs (yes) + cardboard scraps, old rags, and anything else we have around that can prevent paint from seeping onto concrete or grass. *Any tarp will do, but we found this one to be TRULY paint-proof, which is critical for us at client homes. Use TARTAN10 to get a discount if you order it!
Pour carefully, and wipe off the sides of the cups. Pop on the lids and close tightly (but don’t over-close them and break the lid). Give it a good shake.
Re-seal the paint cans carefully with a rubber mallet (use a paper towel buffer to avoid splatter), and set aside.
Finalize your labels.
Place your cups in a bin or bins, and marvel at the space you’ve saved.
Clean up the area. Paint can be tough to discard! Check your local rules on how to do this.
Check out the behind-the-scenes reel of the process here:


Posts on Fewer and Finer may contain affiliate links. If you click and make a purchase, Tartan may earn a small commission at no extra cost to you. It doesn’t cost you a thing (and sometimes you even get a discount!), and it’s a great way to boost our small business and help me justify the copious time I spend making recommendations and doing research. All opinions are Tartan’s, and we always recommend thoughtful purchasing habits.
© Tartan Professional Organizing 2025, All rights reserved


